|
Directions:
|
|

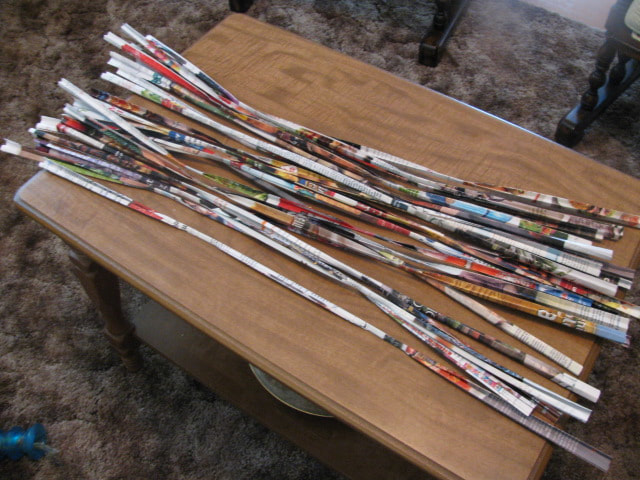
STEP 1: FOLD YOUR MAGAZINE SLATS.
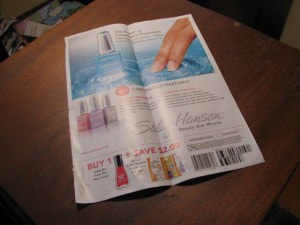
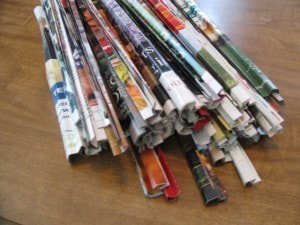
Remove pages from the magazine or catalog. Although you can use any of them, the more colorful pages will give your finished bowl more color.
Remove pages from the magazine or catalog. Although you can use any of them, the more colorful pages will give your finished bowl more color.
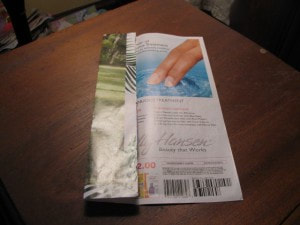
Fold your magazine page in half down the middle.
Fold your magazine page in half down the middle.
Fold both edges in towards the middle crease.
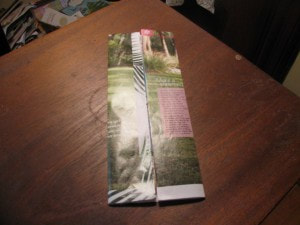
Fold the new outside edges in to the center again.
And fold the edges in to the center a final time.
And fold the edges in to the center a final time.
Finally fold it in half down the center.
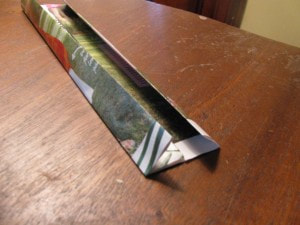
Note: The finished dimensions of your paper “slat” are important. If it is too thick, it will be hard to coil, and the finished width of the slat itself effects the look of the bowl. I personally think that the finished product looks better with a narrower paper “slat”. You can even cut each page in half legnthwise to make a thinner, and easier to coil, slat.
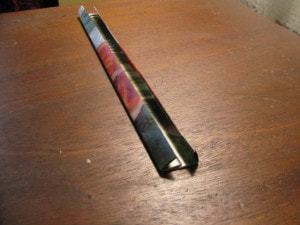
Tada! A folded slat. Notice by continually folding in to the center you get rid of any rough edges that you may have had from tearing the pages out of the magazine.
Repeat until you have a lot of slats.
Repeat until you have a lot of slats.
STEP 2: TAPE THE SLATS.
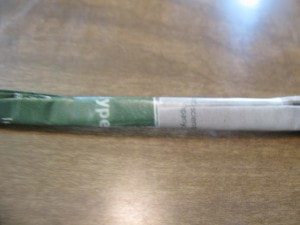
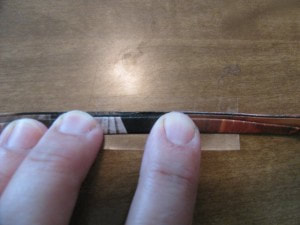
I like to join the slats with tape. You simply pull off a piece of tape, lay it on your surface, then lay the two slats you are joining end to end and wrap the tape around.
A close up of the taped join.
I like to tape all of my slats together before I start coiling-typically 3 at a time.
I like to join the slats with tape. You simply pull off a piece of tape, lay it on your surface, then lay the two slats you are joining end to end and wrap the tape around.
A close up of the taped join.
I like to tape all of my slats together before I start coiling-typically 3 at a time.
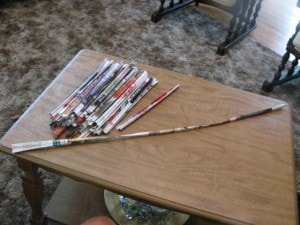
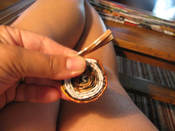
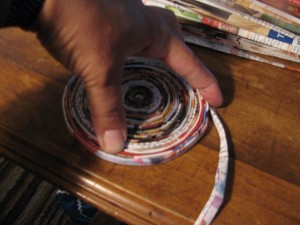
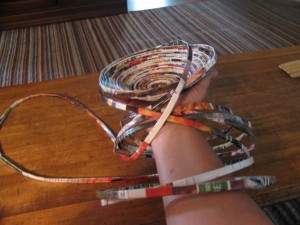
STEP 3: COIL THE SLATS.
This is the part that takes a bit of coordination & hand strength. I like to do all my coiling at once-it’s not the kind of project you want to stop in the middle of because it will come unwound. If you desperately need to stop, try securing it with rubber bands (have those on hand before you get going!)
So just bend the first slat and start coiling. When you get to the end of your slat, tape a new one on and keep on coiling!
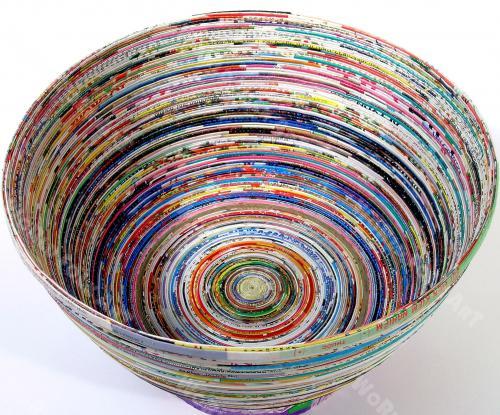
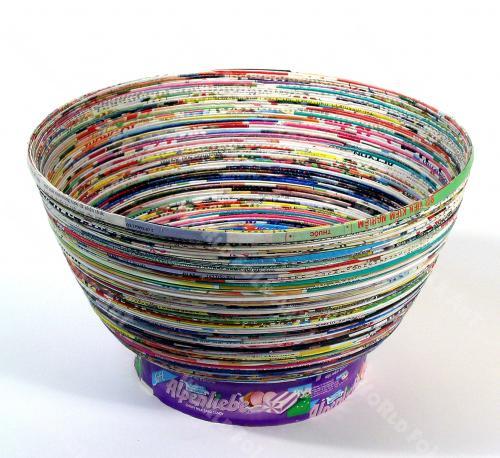
I like to make my coil as tight as I can. Once I’ve got a bit of coil done, I lay my palm down flat on it and kind of “spin” it tighter. Keep going until the coil is as big as what you want the diameter of the bowl to be. Then tape the end of the last slat down to the bowl itself.

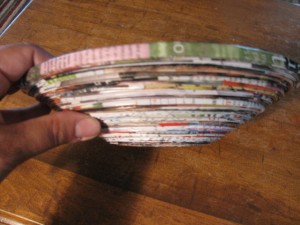
STEP 4: FORM THE BOWL
.Now comes the tricky part. You have to slowly push the sides of the bowl up. Be careful or you might wind up with this
.Now comes the tricky part. You have to slowly push the sides of the bowl up. Be careful or you might wind up with this
STEP 6: SEAL THE BOWL.
Now you can trim off any little flaps of tape you can see (use an exacto style knife). Once it is all beautiful it is time to seal it. I like to use Modge Podge as a sealant, but you could try watered down glue or even some polyurethane.
I give each side 2-3 coats. It will take quite a while to dry fully-that paper can soak up the glue a bit on the first coat.
